Load gltf 3D model operation instruction
Overview
In the use scene, SuperMap iClient3D for WebGL (hereinafter referred to as: WebGL client) needs to load some 3D models with animations to show special scene effects. However, there are many 3D modeling software and the model formats vary. Unification brings trouble to the WebGL client to load models; on the other hand, these models usually include scenes, lights, cameras and other redundant information, which will greatly reduce the efficiency of model loading and display performance.
glTF is a text exchange format defined by the khronos organization. It can reduce redundant content in the 3D model that has nothing to do with rendering, and it fully supports OpenGL, WebGL, OpenGL ES graphics acceleration standards, and the glTF format is conducive to network transmission Features, and is widely suitable for displaying 3D models on the Internet and mobile devices.
When we get a 3D model made by 3D modeling software, we can import the 3D model on the WebGL client through the following operations. There are three main steps in the process:
Operation flow
The following is an example of importing a tower crane model with animation (*.max format) for detailed operation demonstration.
1. Export DAE model
Instructions
This step needs to use 3ds MAX software to export the *.max model to DAE format. The DAE file format is a 3D interactive file format, which is generally used to exchange data between multiple graphics programs.
The DAE format option provided by 3ds MAX when exporting is "Autodesk Collada (*.DAE)". Model textures using this format will not be exported normally. We need to use "OpenCOLLADA (*.DAE)” format, so please download the DAE output plug-in suitable for 3ds MAX.
The plugin used in this example is: "COLLADAMax.dle".
Steps
(1). Install a third-party plug-in: After downloading the plug-in, store the plug-in file in the plugins folder under the 3ds MAX installation directory. The address of this example is: "C:\Program Files\Autodesk\3ds Max 2014\plugins", as shown in the figure below.
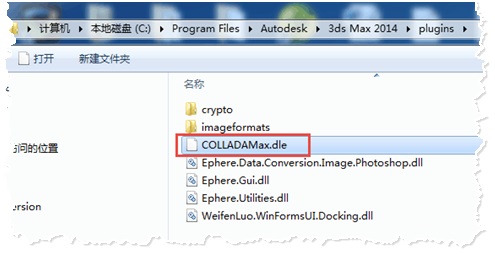
Figure 1: Plug-in storage location schematic
(2). Restart 3ds MAX, open the original 3D model, select "Export|Export", select the file storage path, enter the file name, and select "Save type" OpenCOLLADA(*.DAE)" format, as shown in the figure below.
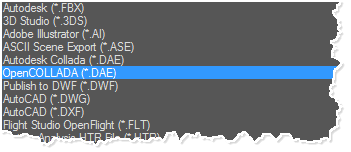
Figure 2: Select the save type
(3). Click "Save", the "OpenCOLLADA Export" dialog box pops up, check "copy Images", click OK.
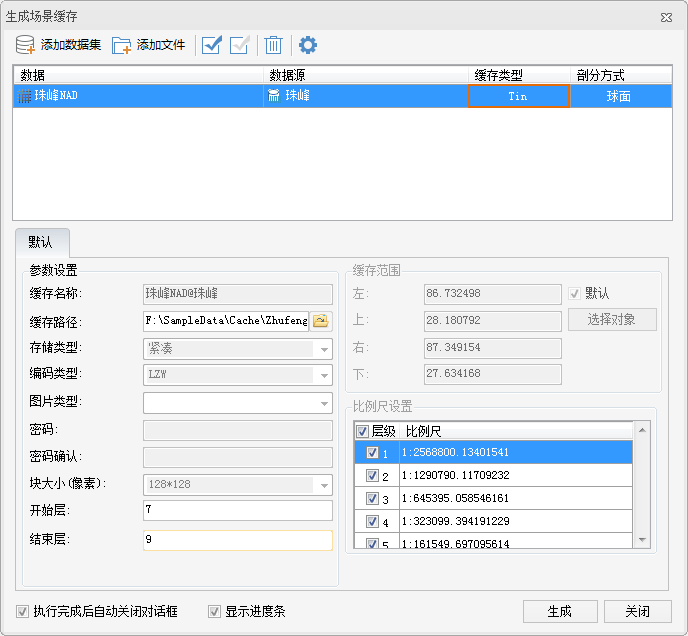
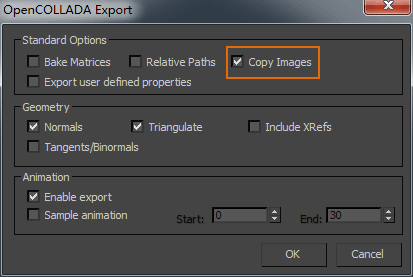
Figure 3: "OpenCOLLADA Export" dialog box
Operation Result
After the operation of exporting the DAE model is completed, the DAE format model will be stored in the target path, which also includes a "images" folder, which stores the texture pictures of the model.
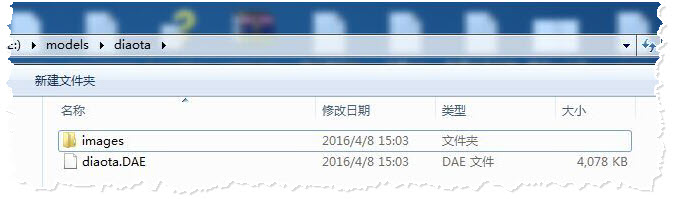
Figure 4: Export DAE results
2. Convert DAE model to GLTF
Instructions
After exporting the model in DAE format, in this operation, the conversion tool (colladaTogltf.exe) will be used to convert the model from DAE format to gltf format. The address for obtaining the conversion tool colladaTogltf.exe: https://github.com/KhronosGroup /glTF/wiki/Converter-builds
This conversion tool does not need to be installed, please follow the steps below.
Steps
(1) Windows icon + R key to open the Run dialog box, enter "cmd" to open the command line window.
(2) In the command line window, enter the folder where the conversion tool colladaTogltf.exe is located, that is, enter: "cd %exePath%".
(3) Enter the command line, the command format is: collada2gltf.exe –f %daePath% -e
- %daePath% is the full path where DAE model files are stored, such as "E:\models\models\diaota\diaota.DAE" in this example;
- -e command option means to output a gltf file after conversion, which will contain the geometry and texture information of the model
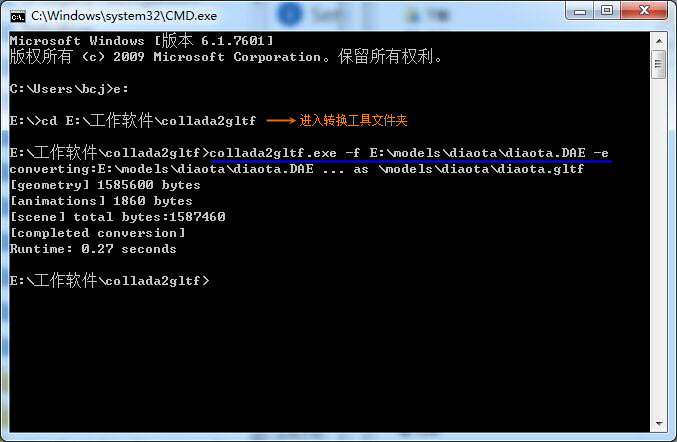
Figure 5: Enter the command line to realize the conversion from DAE to gltf
(4) Press the Enter key to convert the format.
Result of the operation
After the conversion is completed, the gltf model and the DAE model are stored in the same folder, as shown in the figure below.
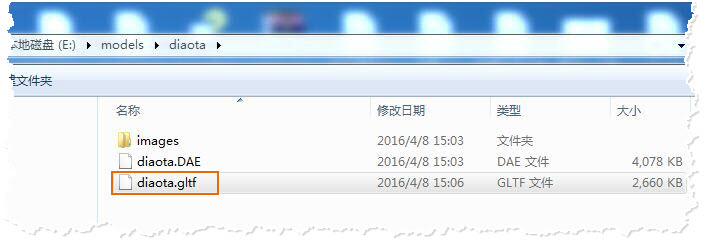
Figure 6: The converted gltf file
It is worth noting that the data volume of the glTF format model is greatly reduced, which will help increase the speed of loading the model on the web client.
3. Client loads model data
Instructions for use
WebGL client can directly load the 3D model in *.gltf format through KML file. The file "KML_crane.html" is an example of loading gltf 3D model. It loads "crane.kml" "" file, the main operation of this step is to modify the storage address of the model in the KML file.
Steps
(1) Copy and save the converted gltf model data to the server resource folder, address: %SuperMap iServer_HOME%/webapps/%WebGL product package% /examples/SampleData /models
(2) Enter the storage path of the WebGL product package (%SuperMap iServer_HOME%/webapps), under the "examples/SampleData" folder, open the "crane.kml" file, modify the storage address of the model in the KML file, as shown in the following figure.
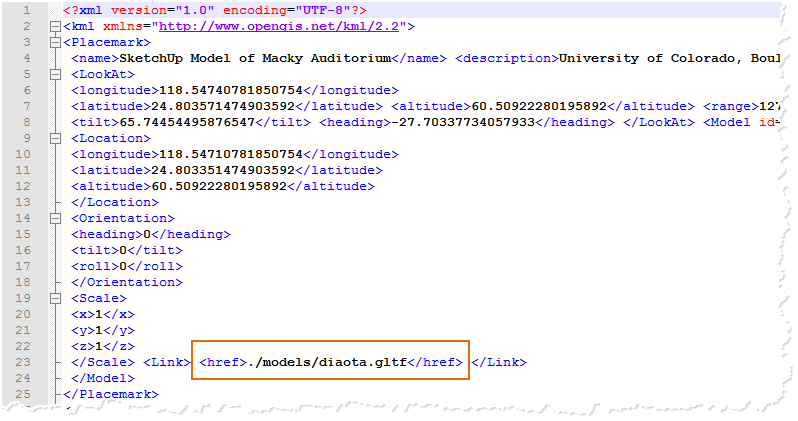
Figure 7: Modify model storage address
(3) Open the "KML_crane.html" webpage in localhost, and the browser input address is: http://localhost:8090/%WebGL product package% /examples/ KML_crane.htm
Result of the operation
After opening the webpage, the camera flies to the location of the terrain data, the display effect is as follows:
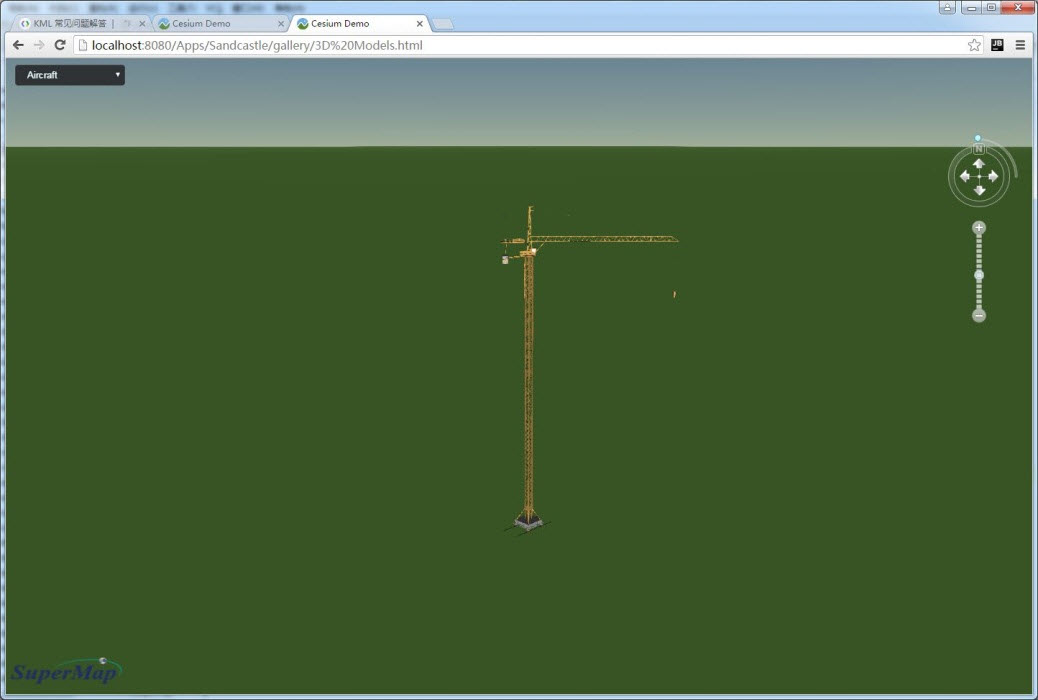
Figure 8: WebGL loading 3D model renderings